
By the way, my husband and I escaped to Seaside, Florida for our Anniversary trip, and I gave my bag an official photo shoot at our fancy-schmancy rental house on the beach. Oh yes.

On.The.Beach.

Are you jealous?

Did I mention that we had a hammock on the back patio of the house? Overlooking the beautiful Gulf of Mexico?

Oh yeah, and here we are...nine years! Here's to ninety-nine more!


We even took him bike riding...

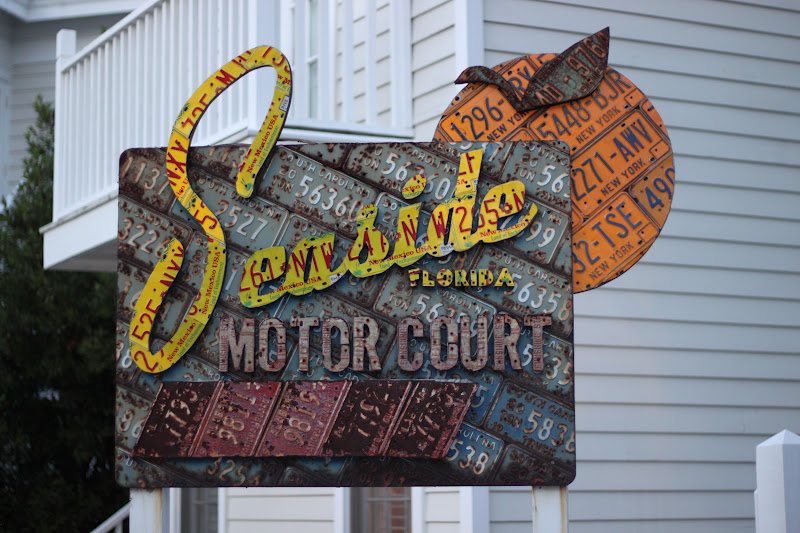
Seaside is seriously cool. Did you ever see The Truman Show? It was filmed in Seaside. It's one of our favorite places to visit, and it's only about an hour away from where we live, so it's a nice place to go for a mini-vacation.

Okay, back to the bag. Here's the breakdown...
1. If I can do this bag, I'm thinking that pretty much anyone with a decent sewing background can. As another blogger said, I'm a quilt lady, not a bag lady. Yet, I made this bag that's supposed to be horribly difficult. There were horribly difficult parts, but nothing that made me want to throw in the towel.
2. I did a lot of researching and a lot of blog reading to find tips and/or shortcuts to make this bag making thing better. I found alot of helpful things, and took a lot of advice from lots of different blogs. Here are the changes I made, step-by-step:
*Instead of using two different fabrics, I used four.
*I used a 30" separating sport zipper. I could not find the 32" non-separating kind that the instructions call for.
*Instead of using binder clips, I used clothespins
*I wanted longer handles, so I could easily carry this bag over my shoulder. So when cutting the fabric for the handles, I cut 2 pieces that were 4" x WOF, which in the case of the fabric I used was 56".
*Instead of using Peltex for the handles, I used fusible fleece.
*When making the prepared cording, I used Steam-A-Seam, instead of stitching it closed.
*When attaching the handles, Step 6D says to stitch a line across the handles at the 9" and 13" mark.
Instead of doing that, I sewed an "X" from about 11" to 13".
*I added cording to the side pockets.
*Instead of handstitching the lining, I machine stitched it, by pinning the lining to the inside of the bag, right along the zipper, and sewing over the line of stitching that was already there from sewing the zipper into place.
I think those are all of the changes I made. If I remember more, I'll come back an edit those in.
3. The instructions are really easy to follow. And again, this is coming from someone who does not make bags! The only bags I've made before have been pretty basic tote bags. This is not basic on any level, yet the instructions are written so well, that I really never struggled with understanding them. The main struggle came from just sewing all of these thick layers together.
4. I really took advantage of knowing that what happened on the inside of the bag, stayed on the inside of the bag. So when I was doing the dreaded step 11C, which is attaching the top and bottom panels to the main panel, I went over certain parts multiple times to make it look right on the outside.
5. Notice there are no beauty shots of the zipper. There never will be. I think attaching the zipper was one of the hardest parts for me, for some reason. Maybe because the zipper I used a bit bigger? I don't know, I just struggled with it, and it's not pretty.
I think that's really all I have to say about it! And amazingly, I'm actually considering making more of these. I thought it would be cute to make these for my girls, but we'll see. If I do, it would be for Christmas, so not anytime soon. And maybe not even for this Christmas.
One last thing...here are the blogs I read along the way that gave helpful hints, or ideas for good changes to the bag:
Don't Call Me Betsy
I Like Orange
Live a Colorful Life
Stitches and Scissors
Monkey Beans
SewCraftyJess
First, Happy Anniversary--you and your husband look very happy together♥
ReplyDeleteNext, your bag looks fabulous! thanks for all the links to other blogs with the bag--I think I learned a little at each one and might just try making it!!
Fabulous! I love it! Your weekend looks pretty lovely too. Happy Anniversary!
ReplyDeletebeautiful bag Kelly! you continue to amaze me. Happy Anniversary to you and Grant!!
ReplyDeleteHaha!! You've come a long way! (It's your 2 year anniversary with the MQG, too, you know...)
ReplyDeleteI think the bag looks incredible, and I'm really proud (jealous?) of you for making it. Great job!
Your Weekend is just GORGEOUS!! And your photo shoot is equally as gorgeous! Happy Anniversary!
ReplyDeleteFor your 4 fabrics, how much of each did you get?
ReplyDeleteYours looks great! I definitely want to try this too.
ReplyDelete